Select Access and then click User/Role Assignment.
The first page is a standard Filter Options Page to query by Role and/or by User.
If you populate the Application field (this will default in if you are working within an application), and leave the remaining filter options blank, it will bring back results for all roles and all users.
You may also query to include or exclude those roles that have been auto-loaded (Y/N); by excluding the auto-loaded roles, you will see only a list of those roles that have been manually added to each FAST application.

Execute the Query.
You can view, edit or delete user roles using the Data Entry Grid.
Role Name: These are the titles of the roles that have been assigned to the end users.
Expiry Date: This is an optional field that allows you to identify expiry dates for employees in a certain role. These roles will automatically be removed as of the Expiry Date noted.
Auto Loaded: A check mark denotes the user/role combination cannot be edited or deleted. A client business rule has been defined to automatically grant role access to a specific set of users based on your ERP data.
To use this page:
To add a new User and/or a new Role, simply
click the  button to being the data entry.
A new, blank line will appear at the bottom of the grid. You can enter
an employee/external ID number or use the search feature; the name
will then auto-fill.
To delete
a role and/or a user, highlight the row by selecting the Row # next
to the record you wish to delete. Once the row is displaying in a
pale blue, you can click the delete  button to
remove the row completely.

Click the save button  .
.
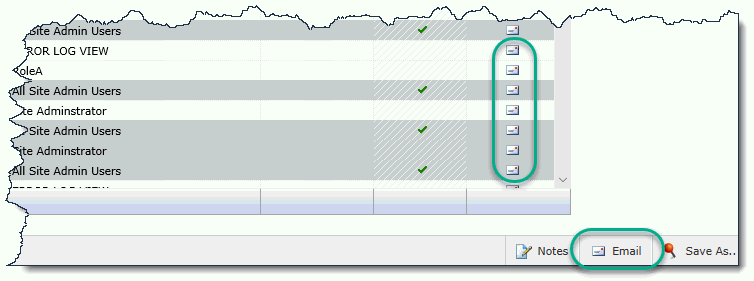
Additionally you can send an email to one employee - using the individual Email Control field - or to all employees generated on the list by using the global Email Control button:
